

 Last year around Christmas time I was really struggling with my allergies and I noticed that my allergies seemed a lot worse right after we put up our 15 year old artificial Christmas tree. I didn’t make the connection at first, but I did notice 6 weeks later when we finally packed up our tree that I almost instantly started breathing better. A light bulb went off in my brain and I realized that my Christmas tree may have been a big part of why I had been so sick during the holidays last year.
This year I’m determined to feel better during the holiday season and I decided it was time to clean my Christmas tree, afterall, we’ve had if for 15 years! Honestly, I can’t believe that we have had this tree for so long, it’s super ‘old-school’, has individual branches that have to be put on one by one, but it works and it looks really nice once it’s all set up. Don’t get me started on how long it takes to assemble, add the lights, and ornaments (I hate this job as much as my kids love it), but today I’m thankful that I don’t have a pre-lit tree because if I did I would never be able to clean it so thoroughly. I’m super envious of all of you out there that have pre-lit trees – the ease, the simplicity…oh man….(drooling over here), but I’ve also heard horror stories about how the lights malfunction.
ANYWAYS, back to the topic at hand….as I was saying, I’ve got this super old, fake tree and I was bound and determined to clean it. I begged my husband to get out the box from the basement and haul it outside to our back porch – it was warm, 80 degrees the day we did this. Here’s what you need to do:
Supplied Needed:
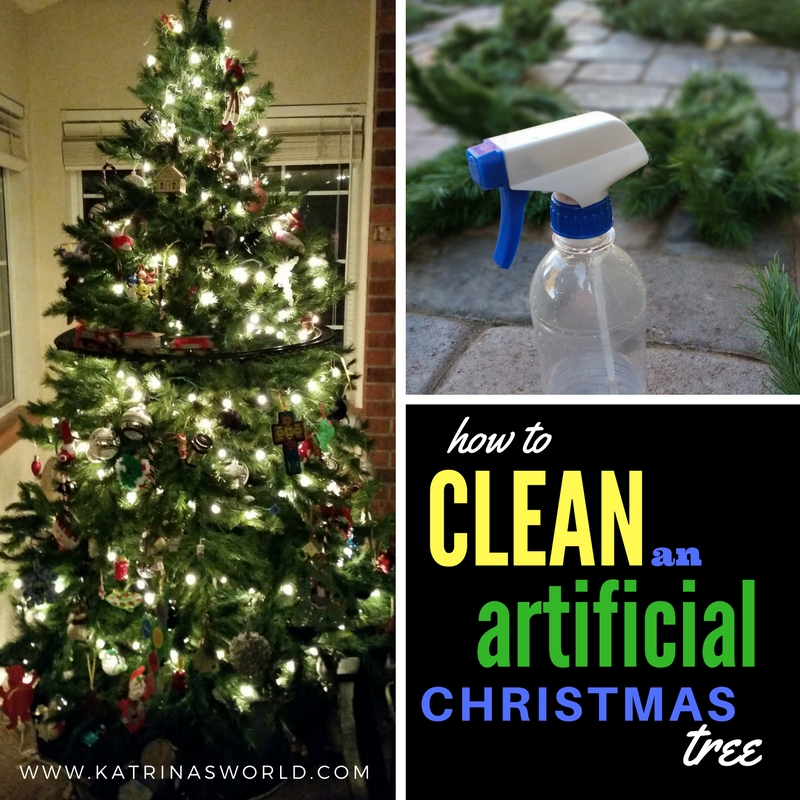
- Spray bottle
- Lemon Juice
- White Vinegar
- Hose
- Artificial Christmas Tree
Directions:
I gathered up the kids and had them lay out each branch of the tree. I gave each of them a spray bottle filled with a solution of white vinegar, lemon juice, and water and asked them to spray all sides of each branch. I let that sit for about 15 minutes and then I got out my hose and sprayed off each branch completely. After all the branches were thoroughly rinsed, I shook off the excess water from each one and laid them on the dry patio in direct sunlight. I left them outside to dry for the entire day and flipped them over about 5 hours into the day. At the end of the day I made sure they were completely dry and then I packed the branches back up in the box and was done.
They smelled GREAT too! I’m super hopeful that this cuts down on the all the dust and helps keep my crazy allergies at bay. It sounds time consuming, annoying, and hard to do, but it was super easy, quick and I feel great knowing it’s over and done with! Hope that helps! You can do it too! Let me know if it helps – I’m crossing my fingers that it will help my household breathe better this Christmas!