
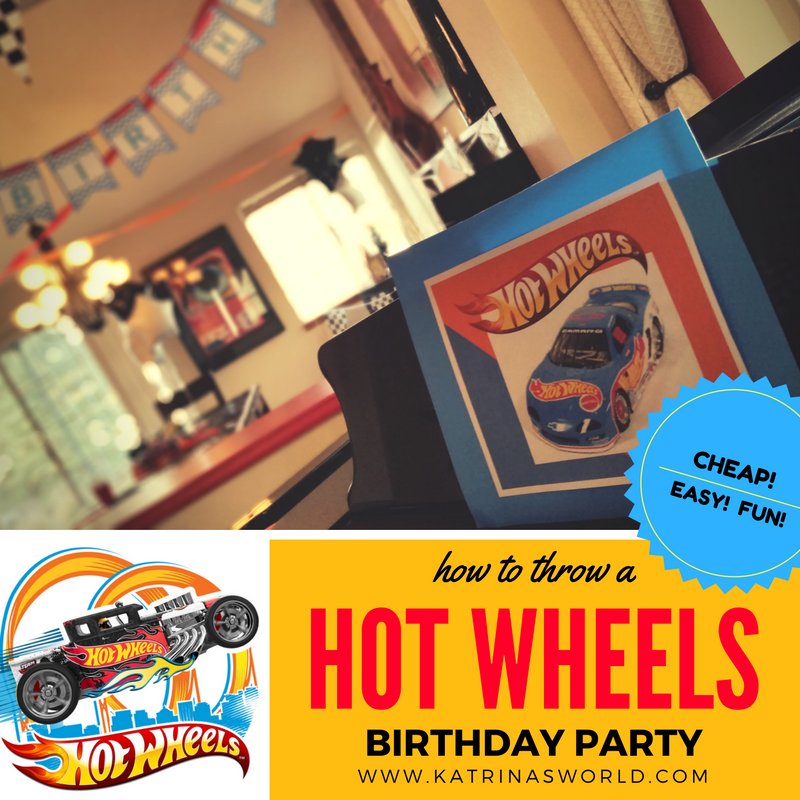
 My youngest son, Rylyn, just turned 5! We had such a fun birthday party for him – you see, Rylyn used to love trains more than anything – but as the years have gone by, his love for trains has turned into a love for all things cars, especially Hot Wheels tracks and cars. He loves them! When we started to think about themes for his birthday party, we knew we had to do a Hot Wheels themed party. If you have been reading my blog for a while, then you know that I love to plan birthday parties for my kids and I love to plan over-the-top fun parties on a serious budget – in my mind, there is no other way to do it! I think if you work at it, you can absolutely have an amazing birthday party for your child without spending a lot of money – and, you can do it from home (which saves even more money)!
I wanted to make this party for Rylyn extra special because it’s the first “friend” party he’s had! I know what you are thinking, Katrina, he’s 5, why in the world is this his first real party? Well, I’ll be real honest with you, take a seat…. I’m a mom of 3 kids, and he’s the 3rd kid. Simple as that – plus I’m smarter now. :) I didn’t want to start off this awesome birthday party tradition with Rylyn too soon, because I have many years ahead of fun parties with him. He’s a crazy boy with so much energy, that I honestly wanted to put off the “friend” parties with him for as long as I could.
This was the first year that he finally noticed the fun parties that my other kids had and was already planning his own party. When I think back on it now, I can’t believe that my oldest son, who turned 10 this year, has had 10 amazing at-home birthday parties. His parties have been over-the-top! He’s had really fun themes like: Messy Party, Star Wars, Science Lab, Minute-To-Win-It, etc. My daughter, who turned 7 this year, has had a few less than my son (you see, I was starting to wise-up). Her fun at-home parties started when she was 3 with her first “friend” party. She’s had 4 great years of fun parties with themes like: Tea Party, Italian Cooking Party, Cheerleader Party, Daddy-Daughter Construction Building Party, etc. Now that we are on to my 3rd, I’m older and wiser and think it’s ok that he’s just starting his “friend” party tradition.
When I’m planning a birthday party I start out by making a quick Word doc with all my ideas of themes that they might like. I then make a guest list and ask for input from my child on who they would like to invite. We go over the themes and I let them pick one. Thankfully this year I pretty much knew what theme he was going to pick, it was either going to be Trains or Hot Wheels. He chose Hot Wheels and I was off the races to start coming up with games and things to do for a November Hot Wheels party indoors with a bunch of 5 year olds. What in the world can you do inside with car track? I did what any mom would do, I got on Pinterest to see what everyone else has done. I found a lot of great pins for decorations for a “car-themed” party, but I know my son, and he could care less about the décor, he’s all about the fun things you would DO at the party. He’s a very active boy and so are his friends, I knew I needed to keep them very busy or I’d lose control of them all. I really didn’t find very many ideas at all of fun Hot Wheels themed activities we could do and was bummed.
It was close to Halloween and I still didn’t know what we were going to do at this party, but I had the invites made, the décor picked out and a cake ordered (from my mom of course). A local high school in our area was hosting a Halloween Party for little kids, so we got ours all dressed up and headed over there for the free candy! Once inside they had transformed the whole school into a Candy Land themed Halloween Party with tons of carnival games and it struck me, we could do that for Rylyn’s party! Carnival type games that are Hot Wheels themed! Genius! My older son even mentioned to me much later that we should do a bunch of those simple games for Rylyn’s birthday party because Rylyn had so much fun and so did all the kids his age! He even offered to help me make the games, and viola, we were off and running. I was pumped because they all were fairly simple and inexpensive to put together, and they would work as indoor or outdoor games if the weather was nice enough (which at the time I had no idea what the November weather in Colorado would be like). We got super lucky and had very warm weather the day of his party and could do most of the games outside, but I’m getting ahead of myself.
Here are all the game stations we came up with:
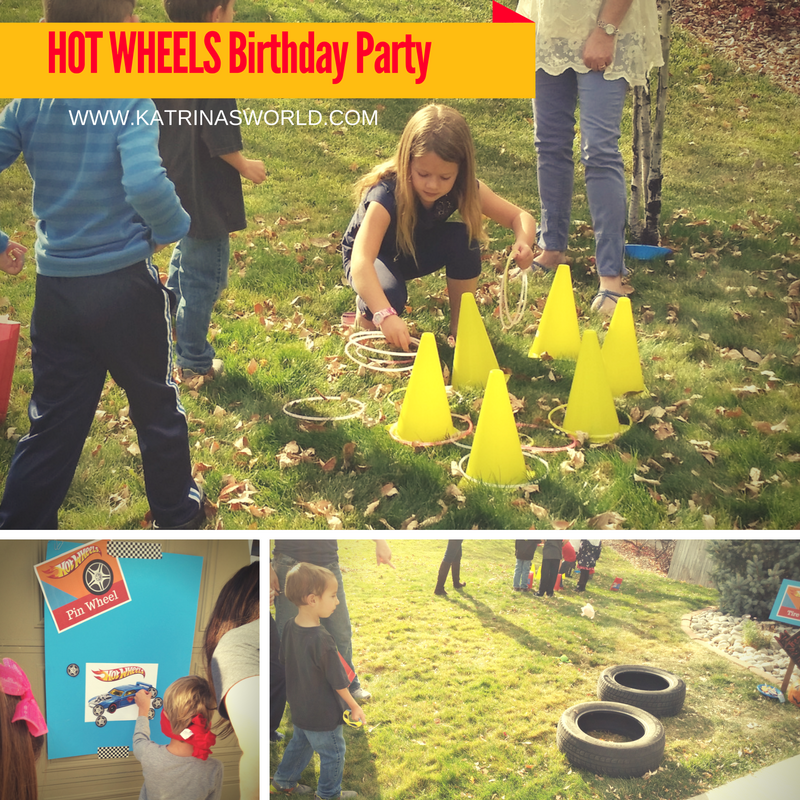
- “Tire Toss” – We set up some old tires which I just so happened to as we had just put new tires on one of our vehicles. You
 could also use ring shaped floaties used for the pool for kids who can’t swim yet. You just set up the tires staggered and use beanie bags to toss into the tires. If they make it into a tire, then they win a prize.
 - “Ring Toss” – We used glow necklaces hooked together to make a ring and had the kids toss them on to yellow caution cones that I happened to have for coaching soccer. I found both at the dollar store. The children had to take a “tire” glow necklace and toss it onto the cone. If they made it, they won a prize.
- •“Pin Wheel”– Think of Pin the Tail On The Donkey, same idea but I made a big poster board of a Hot Wheels Car instead. Then I printed and cut out a page of small tires. At this station, I had my dear friend give each child a tire with some tape on the back and after they spun the child around a few times, blindfolded, they got to try to get their tire on the Hot Wheels Car. We gave everyone candy for just trying this one no matter where their tire ended up. I hung this poster on my garage and it worked out great.
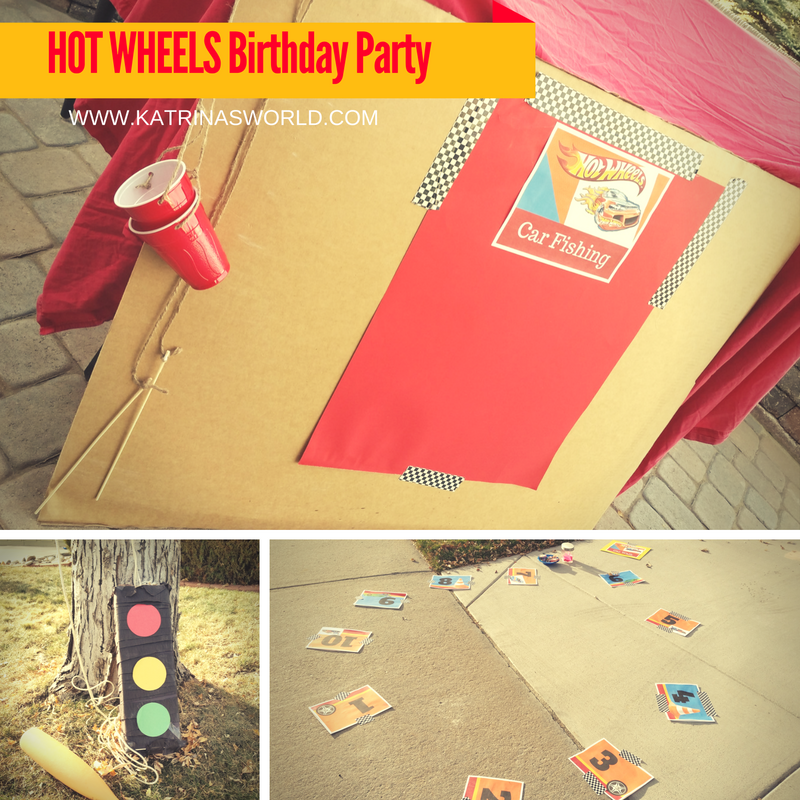
- “Car Walk” – Just think of a good old fashioned Cake Walk! Same thing, except if your number is called you win candy instead of a yummy baked good. J I made numbers 1-10 and taped them to my driveway for the kids to walk on. We played music and when we stopped the music you had to be on a number. You would then pick a number out of a jar and whatever number was called won a piece of candy. My daughter helped with this station and loved every second of it. Hands down, this was the wall time favorite station by all the kids at the party. I mean, who doesn’t love a good ‘ole cake walk?!
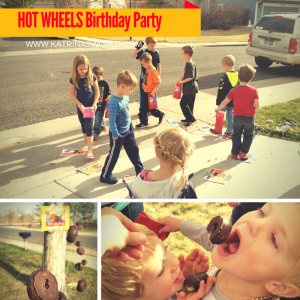
- “Tire Eating Contest” – This was so fun!!! We hung mini chocolate donuts, which were the “tires” with fishing line from a low branch on our big tree in our front yard all at different lengths. We then lined all the kids up in front of a donut that hung basically right in their face. At the same time, with their hands behind their backs, they had to eat the donuts without touching them. HILARIOUS to watch and so yummy! The kids loved this one as well. We only did this station one time as a group.
- “Car Race” – this was the last activity. My older son built a Hot Wheels track that went down our stairs and made the cars go really fast! We had everyone use the Hot Wheels car they were given from the “Car Fishing” game to face off with each other and see which car was faster. I initially planned to make a big tournament poster with individual heats for the cars to race, but time got away from me and I realized that being 5 year olds, they didn’t really care who won! They just wanted to race!
- “Stop Light Piñata” – I made a VERY simple piñata from a tall rectangular Amazon box and stuffed the candy in the bottom of the box. Taped it together and then decorated the box by wrapping black streamer paper all around the box completely covering it. Then I cut out a red, yellow, and green circle from construction paper and taped them on the front of the box and it looked just like a stop light. We hung the piñata from our front tree and used a very hard baseball bat to
 whack it. I was worried it might have a hard time busting open because it was a real cardboard box, but thankfully, that also meant that each child got to hit the box a few times and then we let the birthday box pound on it until it all feel apart – which he loved. Was a very cheap way to make an adorable piñata. This was another all group activity that we did only one time.
 - •“Car Fishing” – This one is where you hold a fishing pole with a string hooked to it, then the child tosses it over a big board and the person behind the board hooks a toy to the string and tosses it back like the child “caught” a fish! We changed it up a bit and attached a red Solo cup to the end of a string on a wooden pole I had. When they child tossed it over they were given a brand-new Hot Wheels car in their cup! They all seemed to love this and the best part was that the Hot Wheels cars are usually on $1! We then planned to have each child keep that Hot Wheels car and use it for the Car Race that would happen later.

Other Things I Made:
The Decorations:
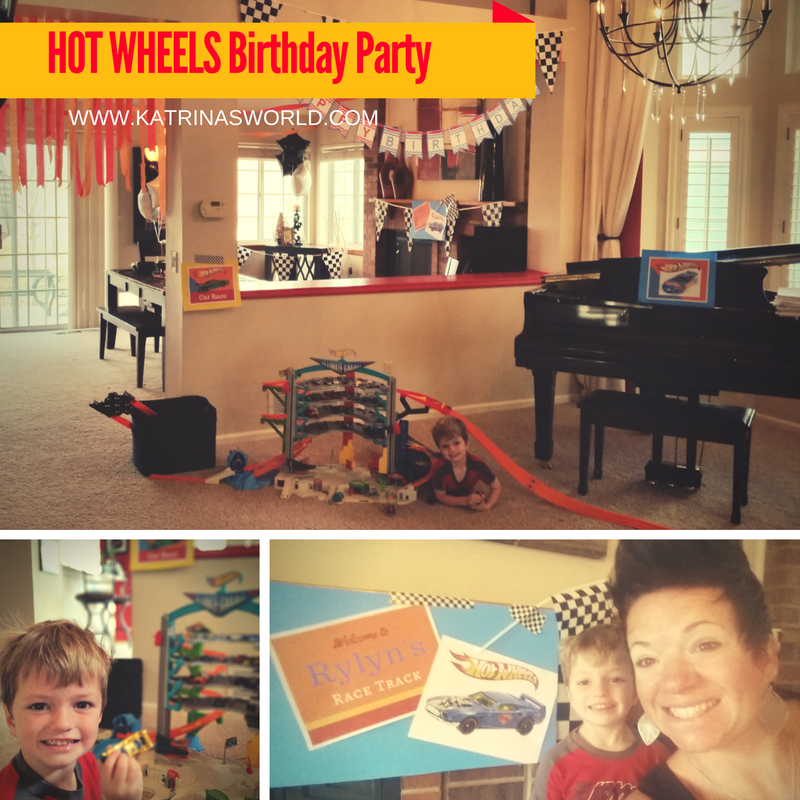 If you have read my posts from my other parties, you know I like to keep things cute, but simple and budget-friendly! Rather than buying official Hot Wheels branded décor, I believe in picking solid colors that match and making my own birthday banners out of poster board and ribbon, and making my own signs and hanging them up. Plus, we always use matching streamers. I also made a simple tablecloth for the main table to look like a road. I picked up a black plastic tablecloth from the Dollar Store as well as some white duct tape made my own road! It was cute and cheap! Don’t forget the balloons! I always get about 10-15 solid color balloons and disperse them around the house – as well as outside so it sets the mood when you guests arrive! Simple, cheap, and awesome!
Signs:
I made my own signs FREE from my favorite website – Canva, that I glued onto poster board and hung it up near each station. I also recruited a few parents and family members, even my older kids, to run each station so that they could help the kids and hand out prizes. My prizes consisted of a lot of candy (that I recycled from Halloween, and small little toys like pencils, erasers, stickers, that were again recycled from Halloween and that I picked up at the Dollar store). I tried to find some fun Hot Wheels themed prizes, but when they got too pricey, I figured kids love candy and I had a TON from Halloween that was just a week before his party!
Goody Bags:
These were very necessary as the children needed a bag to carry around during the entire party so that they could put all the candy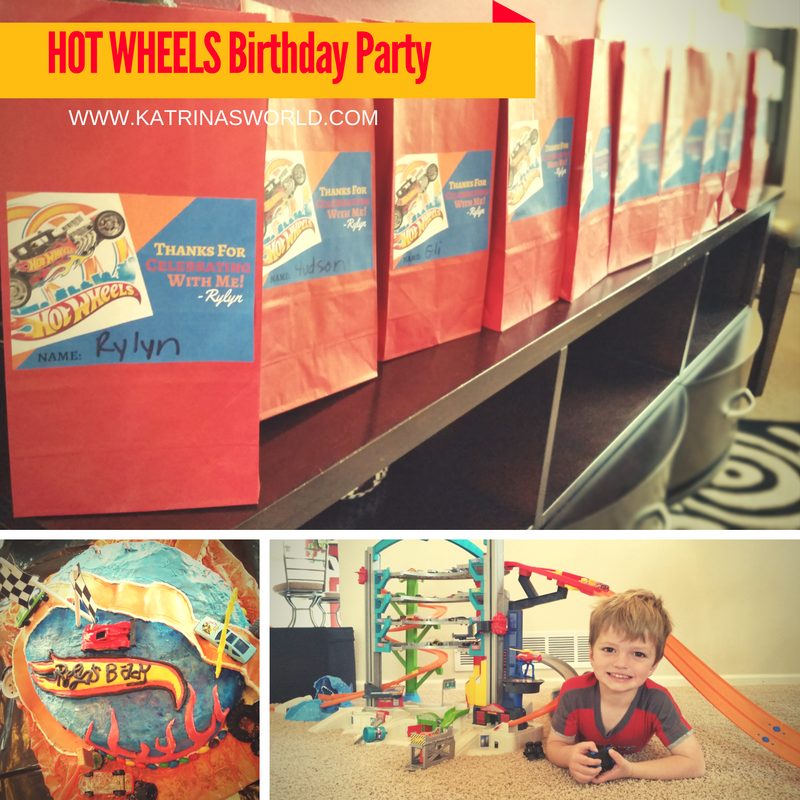 and treats they won at each station – as well as when we did the piñata. I kept these simple as well, I just picked up a package of red paper lunch bags that I found from my local Dollar Store and printed out a small tag that I made on Canva.com for each bag that I glued to the front and added each child’s name. I had these sitting out so each child could grab their bag when they arrived to the party.
The Cake:
My mom is our cake maker extraordinaire! She makes the cakes for my kids every year and they are amazing! The best part about her cakes is that they are gorgeous and usually make for an awesome focal point on the main table. This year, she out-did herself with a Hot Wheels cake that had a tunnel right through the middle that you could drive a Hot Wheels car through (that was the request from the birthday boy)! Even if you can’t make an extravagant cake, there are so many cute ideas on Pinterest for cakes, treats, and cupcake that go right along with the theme. If I didn’t have my mom to make the cake, I was going to go with something simple – a “tire” donut cake! Just take a bunch of small chocolate donuts and stack them up on a plate just like a bunch of tires. Then stick a candle on top and there you go – a “tire” cake! Viola and super simple, plus this would be very inexpensive!
Invitations and Thank You Cards:
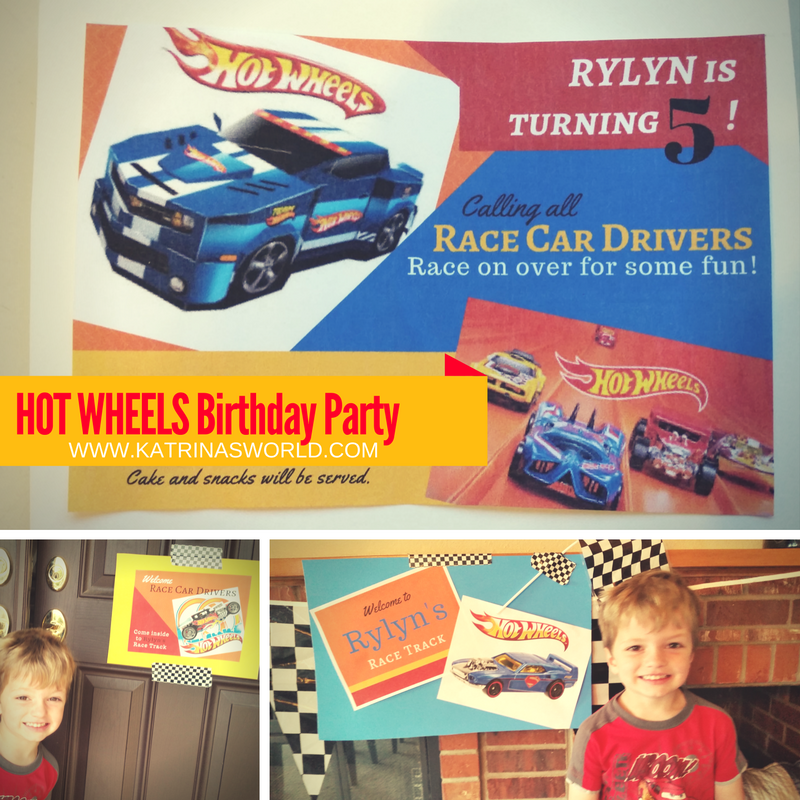 I also made my own invitations on Canva and used the same layout to make a thank you card. I like to make invites that are simple 3.5 x 5 in postcards that are 1 sided that I can put in an envelope or pop right in the mail as a postcard. It’s much faster to just make your own, print them out and mail, versus hunting down a matching invitation at the store and hand-writing in all the info (at least it is for me). Plus, I love to make stuff on my own and personalize it!
It may sound like a lot of work, but besides making the signs and few other décor items, it really wasn’t that bad! The party was a lot of fun and really you could use the same games to fit any theme for any party! My son loved this 5th Hot Wheels birthday party and for me, that’s all that matters!
Share this post: