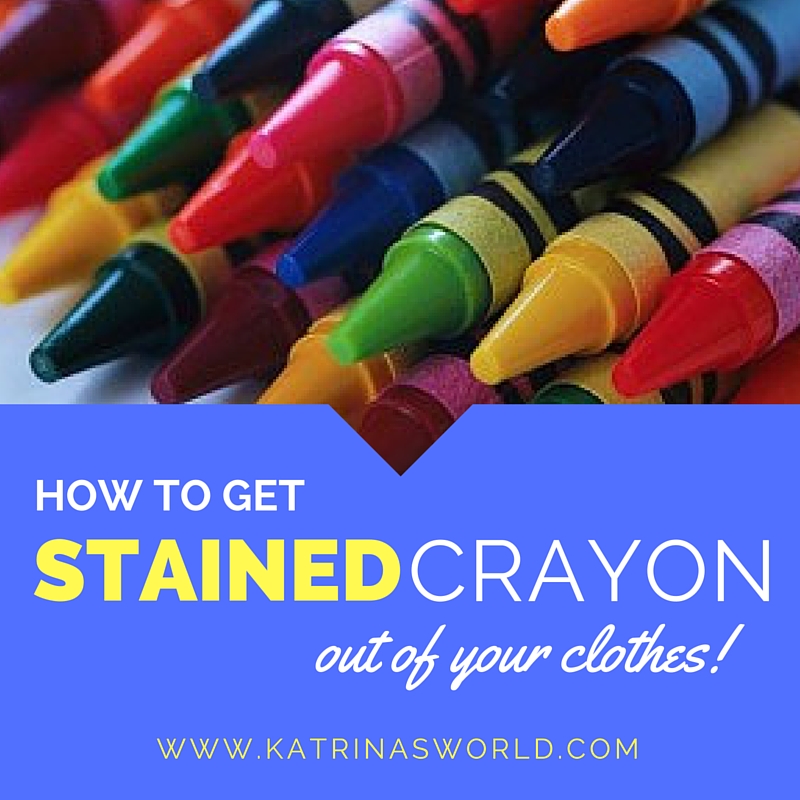
 Ohmygosh! I was frantic – I cried, I screamed, I even yelled at myself and my kids and even my dog who just so happened to be standing in the laundry room as I removed item after item out of my dryer covered in dark blue crayon. Not just any items, all of my daughters favorite pink shorts and my favorite workout clothes, and these days, I tend to not only workout in those clothes, but live in them daily. After a few really long screams and a couple deep breaths I grabbed a huge handful of those totally stained clothes and ran upstairs to almost sleeping kids and showed them the effects of what crayon does to your clothes…I yelled some more and then I left them to go to sleep. Not the best way to end the day, but gosh was I angry.
You see, only about a week ago a chapstick tube missed my pre-wash inspection of all pockets and was washed and then dried with an entire load of my husbands work clothes. I spent the better part of a morning trying to get oil stains out of all his clothes. Then today, to have the crayon incident was enough to totally set me off!!! How I’ve managed to make it 10 years without ever having the “crayon incident” happen is a miracle, but I’m still super upset about it. While I screamed, my adorable husband got online and found a great post about what we could try from Diary of a Doctor’s Wife Blog. If this ever happens to you - Try This!
I’ve tried this, washed the clothes and am totally terrified to see how they turned out. I’ll let you know!
Honestly, I’m still trying to calm down. Pray for me! :)
UPDATE: I’ve tried exactly what this post says to do, and after running my clothes through the cycle two times, they look a lot better than they did originally. The crayon did not come out completely on all the different fabrics that I had in the load. Thankfully, most of my favorite athletic clothes are basically stain-free. A couple items were made of a sweatshirt-type textured material and those one are just holding onto the crayon stain. Sadly, my daughter’s favorite cheerleading light pink shorts are the worst ones in the bunch, the blue stains have faded, but they are still very much a stain and she’s heartbroken over those shorts (these are made of the sweatshirt type material). We did lose one of my husband’s work shirts, but it was on it’s last leg before the crayon incident. I did learn that having a front loading washer makes soaking in really hot water very hard. After I washed my whole load once, I then re-soaked the entire load in my kitchen sink and poured boiling water over it. I let it soak for a good 3o minutes before I ran the whole load through the washer again.
In hindsight, I would soak in boiling hot water right away and I would probably soak and drain and then re-soak again and then throw directly into the washer and wash on the hottest wash my machine would allow. The pre-soak is key, and pre-soaking in super hot water. I did use a Magic Eraser on my dryer drum and that really helped get rid of the blue ring on everything. All in all, it was not a fun thing to have happen and I’m praying that it doesn’t happen again. But, if it does happen to you, try the above post and you will probably save some of your load!
Share this post:


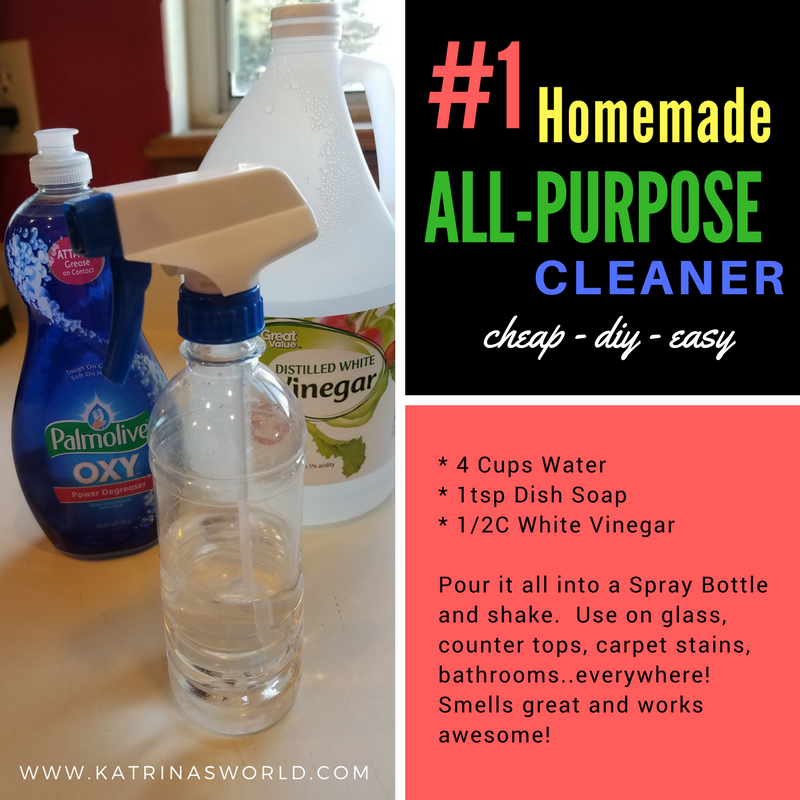 My favorite scent is Clean. I’m serious, I love the smell of Clean. No real scent needed, just Clean. For me, that’s the smell of vinegar and a little water!