 This post contains affiliate links. As an Amazon Associate I earn from qualifying purchases.
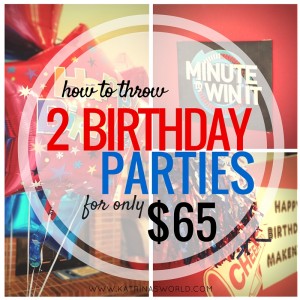
True story – two weeks ago, I threw two birthday parties for less than $65 total. Not kidding! My two older kids both have birthdays in June, only weeks apart. For some silly reason, this year I decided to have both of their parties on the same day! Yes, I’m crazy, and I know what you are thinking – oh Katrina, that’s not a big deal – I’m sure you just had a joint party at a park with both sets of their friends and you just served cake and let the kids all play…right? Um, no…that’s not what I did, I’m not that type of mom. I’m the super crazy type of mom that loves to throw at-home parties that are creative, fun, active, and have a unique theme! Cue the theme music…yep, I’m certified crazy! :) But, the cool thing about their parties this year was that I did them both, on the same day, hours apart for less than $65 total and I’m going to tell you exactly how I did it!
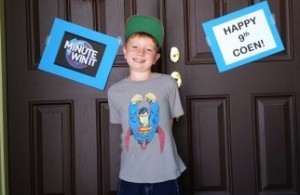 My oldest son, Coen, turns 9 on June 25th. We started planning his birthday party at the end of his party last year (yep, more crazy) and the theme he chose this year was Minute-To-Win-It. Have you ever seen this game show? If you haven’t you should watch it sometime – it’s a great show where contestants have 1 minute to complete silly tasks for money. We had debated doing this theme the year before, but changed our minds at the last minute. After attending a Minute-To-Win-It party, Coen was determined to do the same thing for his party this year.
My daughter, Makenzie, turned 6 on June 10th. We started planning her party 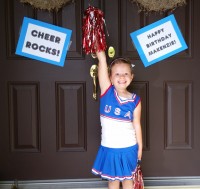 theme last November when she quit her gymnastics class and decided she was a cheerleader instead. :) She fell in love with cheerleading and so her theme this year was..can you guess? Yep, cheerleading! Picking a theme early is key, that way you can start planning, and picking up items that are on sale when you are out and about already. And in fact, the colors for their parties was picked based off the fact that in December I just so happened to be at the Dollar Store buying stuff for Christmas and I came across cheerleader pom poms that were red, blue, and silver. I bought 11 sets of pom poms and her party theme was decided!
When we picked Makenzie’s color scheme I honestly didn’t realize that Minute-To-Win-It’s logo was red, blue, and silver – I got super lucky! The colors just worked out to be the same!
So here is how I planned, decorated, and threw their parties for under $50 total. Let’s start with Makenzie’s Cheerleading party…
Cheerleading Party
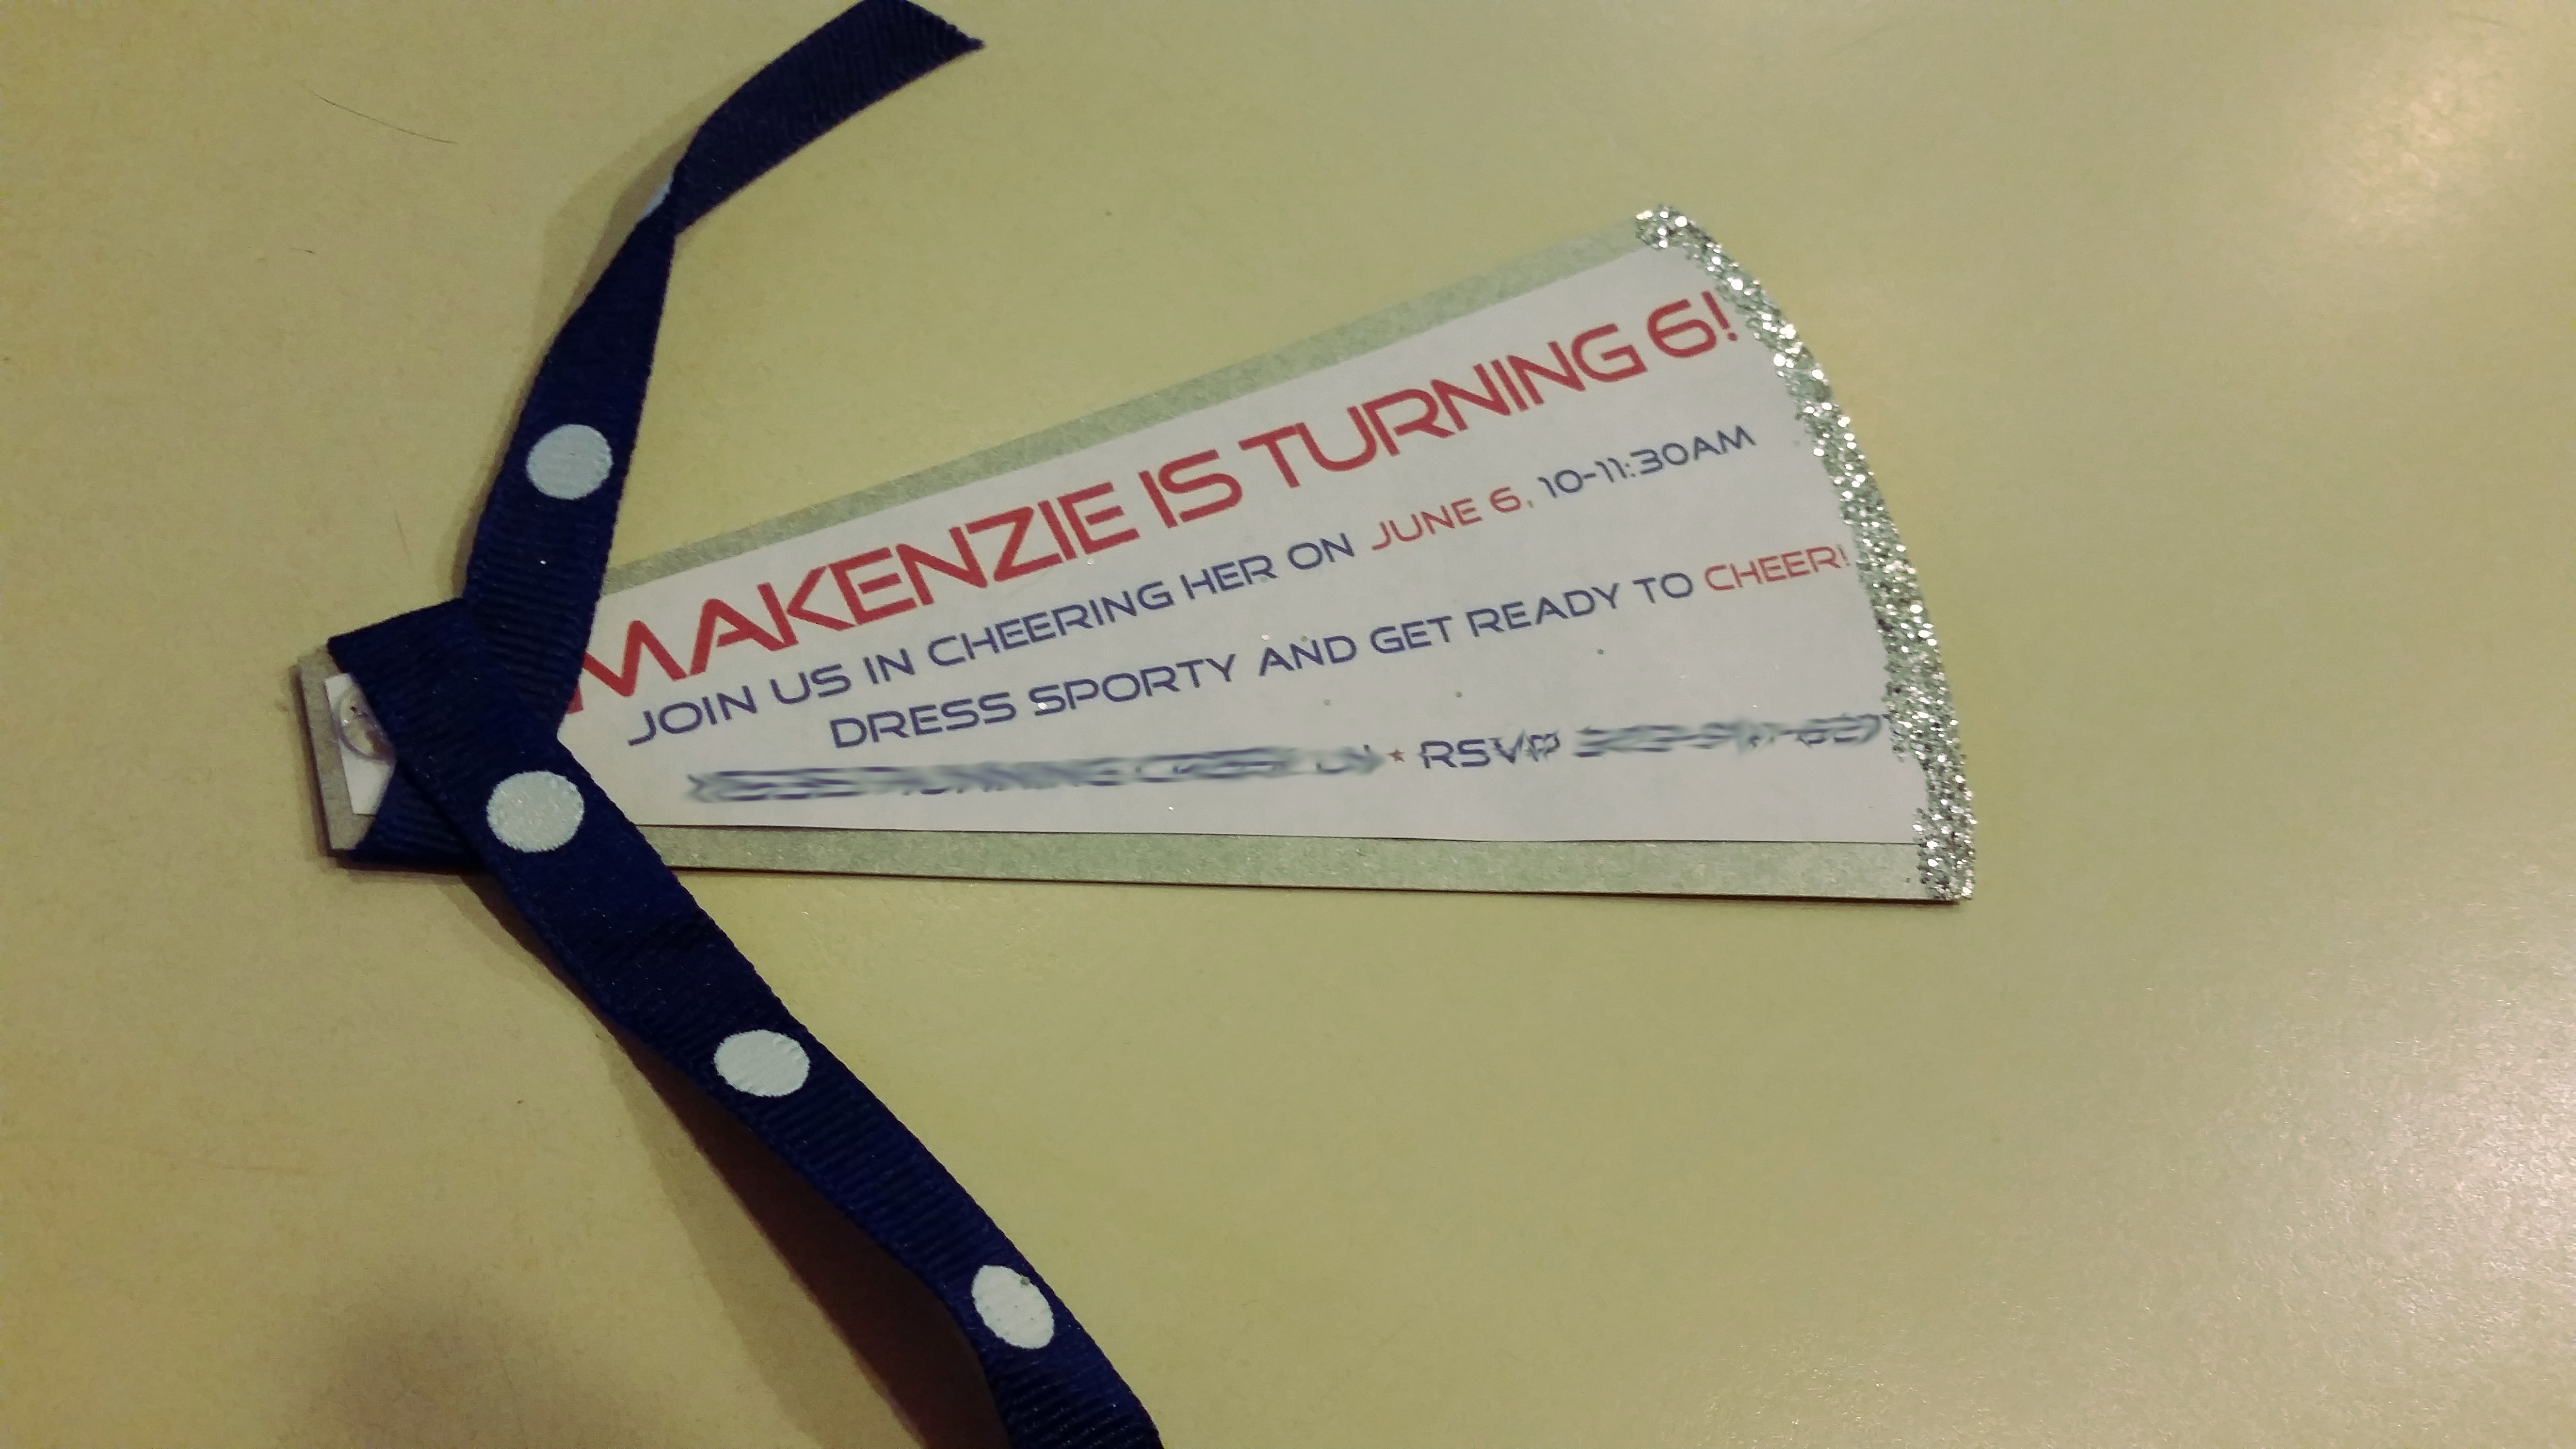
Invitations: Her invitations were megaphones that we cut out and tied a ribbon around. We 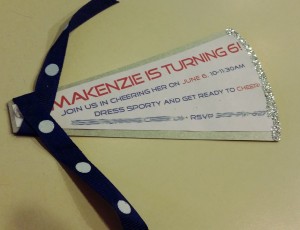 added some glitter to the end and were good to go! They were adorable, we made them ourselves and spent an afternoon decorating them. I just googled megaphone clipart – picked one I liked and printed it out to fit inside the cute silver envelopes I had at home. To make these, we used stuff we had at home – and were only making 12 invites, so it didn’t take very long, and was FREE. We tend to use a lot of red stuff for our home parties so we always have a lot of red paper, red ribbon, etc.
Don’t Feel Like Making Your Own Invitations? I will!
If you love the idea of these Megaphone invites and don’t want to make them yourself, I will! I will customize the invite with your child’s name, age and party location. I’ll assemble and send them with matching envelopes ready for you to hand out. Price is $3/per invite fully assembled + shipping/handling of $8.95. I need about a week to make and get them to you, so try to plan ahead! ORDER NOW!
Decorations: Going along with our blue, red, and silver color scheme, I made a very simple and cute birthday banner that I found on Pintrest here from Chicfetti Parties. This was really adorable! I picked red 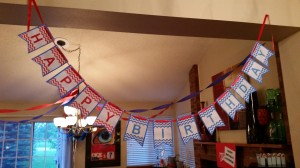 and blue for the colors, and after I printed and cut it out, I reinforced it by mounting it to blue poster board (that I actually found at the grocery store in the clearance section in March when I was doing my regular grocery shopping for the week – total score since they had a ton of them for $0.19 each). I then punched holes in the top corners and laced a red ribbon through it that I picked up at the Dollar Store. This was really cute! The great t
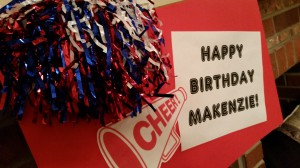 hing about it is that I can save it for another year as well!
I also used the rest of the poster board that I found in clearance to make posters for the decorations. I simply printed out cheerleading clip art and sayings like “Go Team!”, “Happy Birthday Makenzie”, “Go, Fight, Win!”, etc. and glued them to the poster board. I made several signs to hang around the house, as well as the front door for when guests arrived. I made different sizes by cutting the poster board in half and even in fourths. I also made one extra special sign that said “Happy Birthday Makenzie” that I p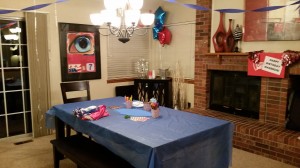 lanned to have the girls use in their group photo! Besides the poster board, I didn’t have to buy anything else to make these decorations and they came out super cute!
I also used red and blue streamers that we found at a garage sale the day before the party for $.05, a blue table cloth that I got at the Dollar Store, 9 helium balloons (from the Dollar Store) and some of the pom poms.
Food and Supplies: We served some simple snack foods of popcorn and pretzels and I made a big batch of strawberry water for my big drink dispenser. I used only 3  sliced strawberries that I had purchased with my groceries for the week (I didn’t include these in my cost breakdown because I purchased them for my weekly groceries). Great way to serve a lot of drinks and keeping the cost to a minimum. All my paper products were leftovers from previous parties – again FREE!
Activities: I’ve learned over the years that the best way to do a party is to keep your guests busy from the second they walk in the door – I like to plan every minute of my party and keep them kind of short – usually only 90 minutes. When guests arrived they were given their special set of pom poms, which had their name printed on the handles and these were their ‘thank you-take home gift’ as well. Then we had them immediately get their faces painted by a friend of mine. She had very simple choices (megaphone, heart with the word ‘Cheer’ in it, star, etc) and of course these all included glitter! I even got my face painted!

After they all got their faces painted we had them color and decorate their own megaphones. I made my own flat megaphone template and traced them on to pieces of the poster board we found in clearance. I was able to get 2 megaphones per poster board. The girls were able to color and decorate their own megaphone and then we stapled them together to form a megaphone. These came out great and were super cute! They got to use them when they learned their cheer!
Next, we made hair ties out of the ribbon I found at the Dollar Store. I picked up 3 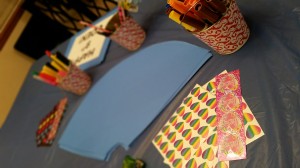 different colors and for the final color I used some ribbon that came with the treat bags for my son’s party that we didn’t plan to use for his party. Once they all had their hair ties finished, we put their hair in ponytails, applied some hair and body glitter that I already had to get them all pretty and ready to learn their cheer! Some of the girls said the glitter was their favorite part! I love glitter – I like to think I sweat glitter…but that’s another story!
Next, we took a group photo with one of t he poster board signs I made and then we headed outside to teach the girls a cheer! My friend’s daughter, who was a little bit older than all the other girls, very sweetly offered to create a cheer and teach it to the girls. It was adorable! She created a “birthday cheer” complete with arm motions and kicks and included the use of their pom poms and megaphones!
 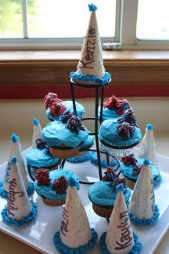 She did such a great job and kept it simple and easy! The girls all did a great job and it was very special to Makenzie!
After they worked up an appetite, we opened presents and ate cake! Makenzie’s cake was awesome! Was a Pinterest fail, but I think it came out even better than the original idea! Every year it’s tradition for my mom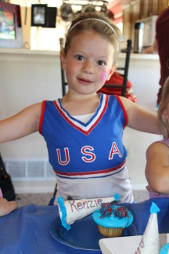 to make cakes for my kids, and she always does an amazing job. This year we made white chocolate dipped sugar cones to look like megaphones along with cupcakes topped with pom poms.
These came out great and were really yummy! The megaphones were supposed to be sideways on top of a cupcake, but after we dipped the cones in chocolate they were just way to heavy that they smooshed the cupcakes! So, we had to serve them on the side along with the cupcake and pom poms. They were a big hit and the cones were super yummy! Plus girls always love getting something with their name on it!
Her party was a huge success and I’m so glad we picked this theme!
Price Breakdown – Cheerleading Party:
Here is a list and price breakdown of things we used for her party. I realize not everyone has access to a Dollar Store, so I’ve also included links to Amazon for similar items that you could order and have shipped right to your door.
- 12 red and blue posterboard sheets (found in clearance) - $2.28 – or order now online now
- Stickers (Dollar Store) - $2 – or order now online now
- 3 spools of red and blue ribbon (Dollar Store) – $3.00 – or order now online now
- 9 helium balloons (Dollar Store) - $9 – or order now online now
- Blue tablecloth (Dollar Store) - $1 – or order now online now
- Sugar cones – $1.49 – or order now online now
- Cake mix – $1 – or order now online now
- Frosting – $2 0 or order now online now
- Chocolate candy melts – $8 – or order now online now
- 11 Pom poms sets (Dollar Store) – or order now online now
- Popcorn – $3 – or order now online now
- Pretzels – $2 – or order now online now
- Total $45.77
Minute-To-Win-It Party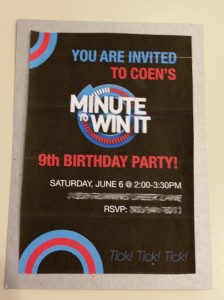
Invitations: His invitations were super simple as well, we just googled the Minute-To-Win-It logo and made up a simple invitation that I printed out on my own printer. We only needed to make about 12, so it was quick. I mounted them to postcards that I already had and we handed them out at school.
Decorations: The cool part about the decorations is that I just used all th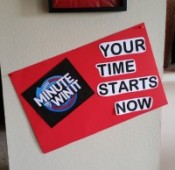 e same stuff from Makenzie’s party just hours earlier. All the poster board signs that we used for Makenzie’s party we just flipped over and had made clip art signs for Coen’s party. I used the Minute-To-Win-It logo for all the signs that had sayings like: “Your Time Begins Now!”, “60 Seconds”, “Happy Birthday Coen!” I made a giant scoreboard on one of the extra poster boards and hung it so we could keep score of how the kids did
 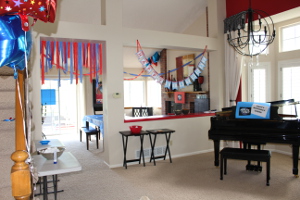 with each activity. I did have prizes for the winner and the loser! We also reused the birthday banner, the balloons, and streamers. Since the party was just a couple hours after Makenzie’s all we really did was run the vacuum, and flip over the signs. Was EASY!
Activities: Now this was the fun part! I had a blast planning this party and all my ideas came from watching the actual show or Pinterest. We played so many fun games and with my 90 minute time line, we actually scrapped the last game, but we kept all the kids busy and occupied from beginning to end! Some of the games we did as a whole group, some we did head to head and some we did individually. I had a friend keep track of the time and another friend was keeping track of scores on the giant scoreboard.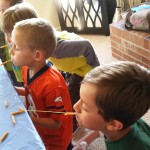
- Noodling Around – with your hands behind your back you had to get 5 penne pasta noodles onto a long spaghetti pasta noodle in one minute. This game was a lot harder than I thought it would be and out of 11 kids, only 1 was able to do it. The pasta I had in my pantry – another FREE game! We did this game as a big group because I had plenty of pasta!
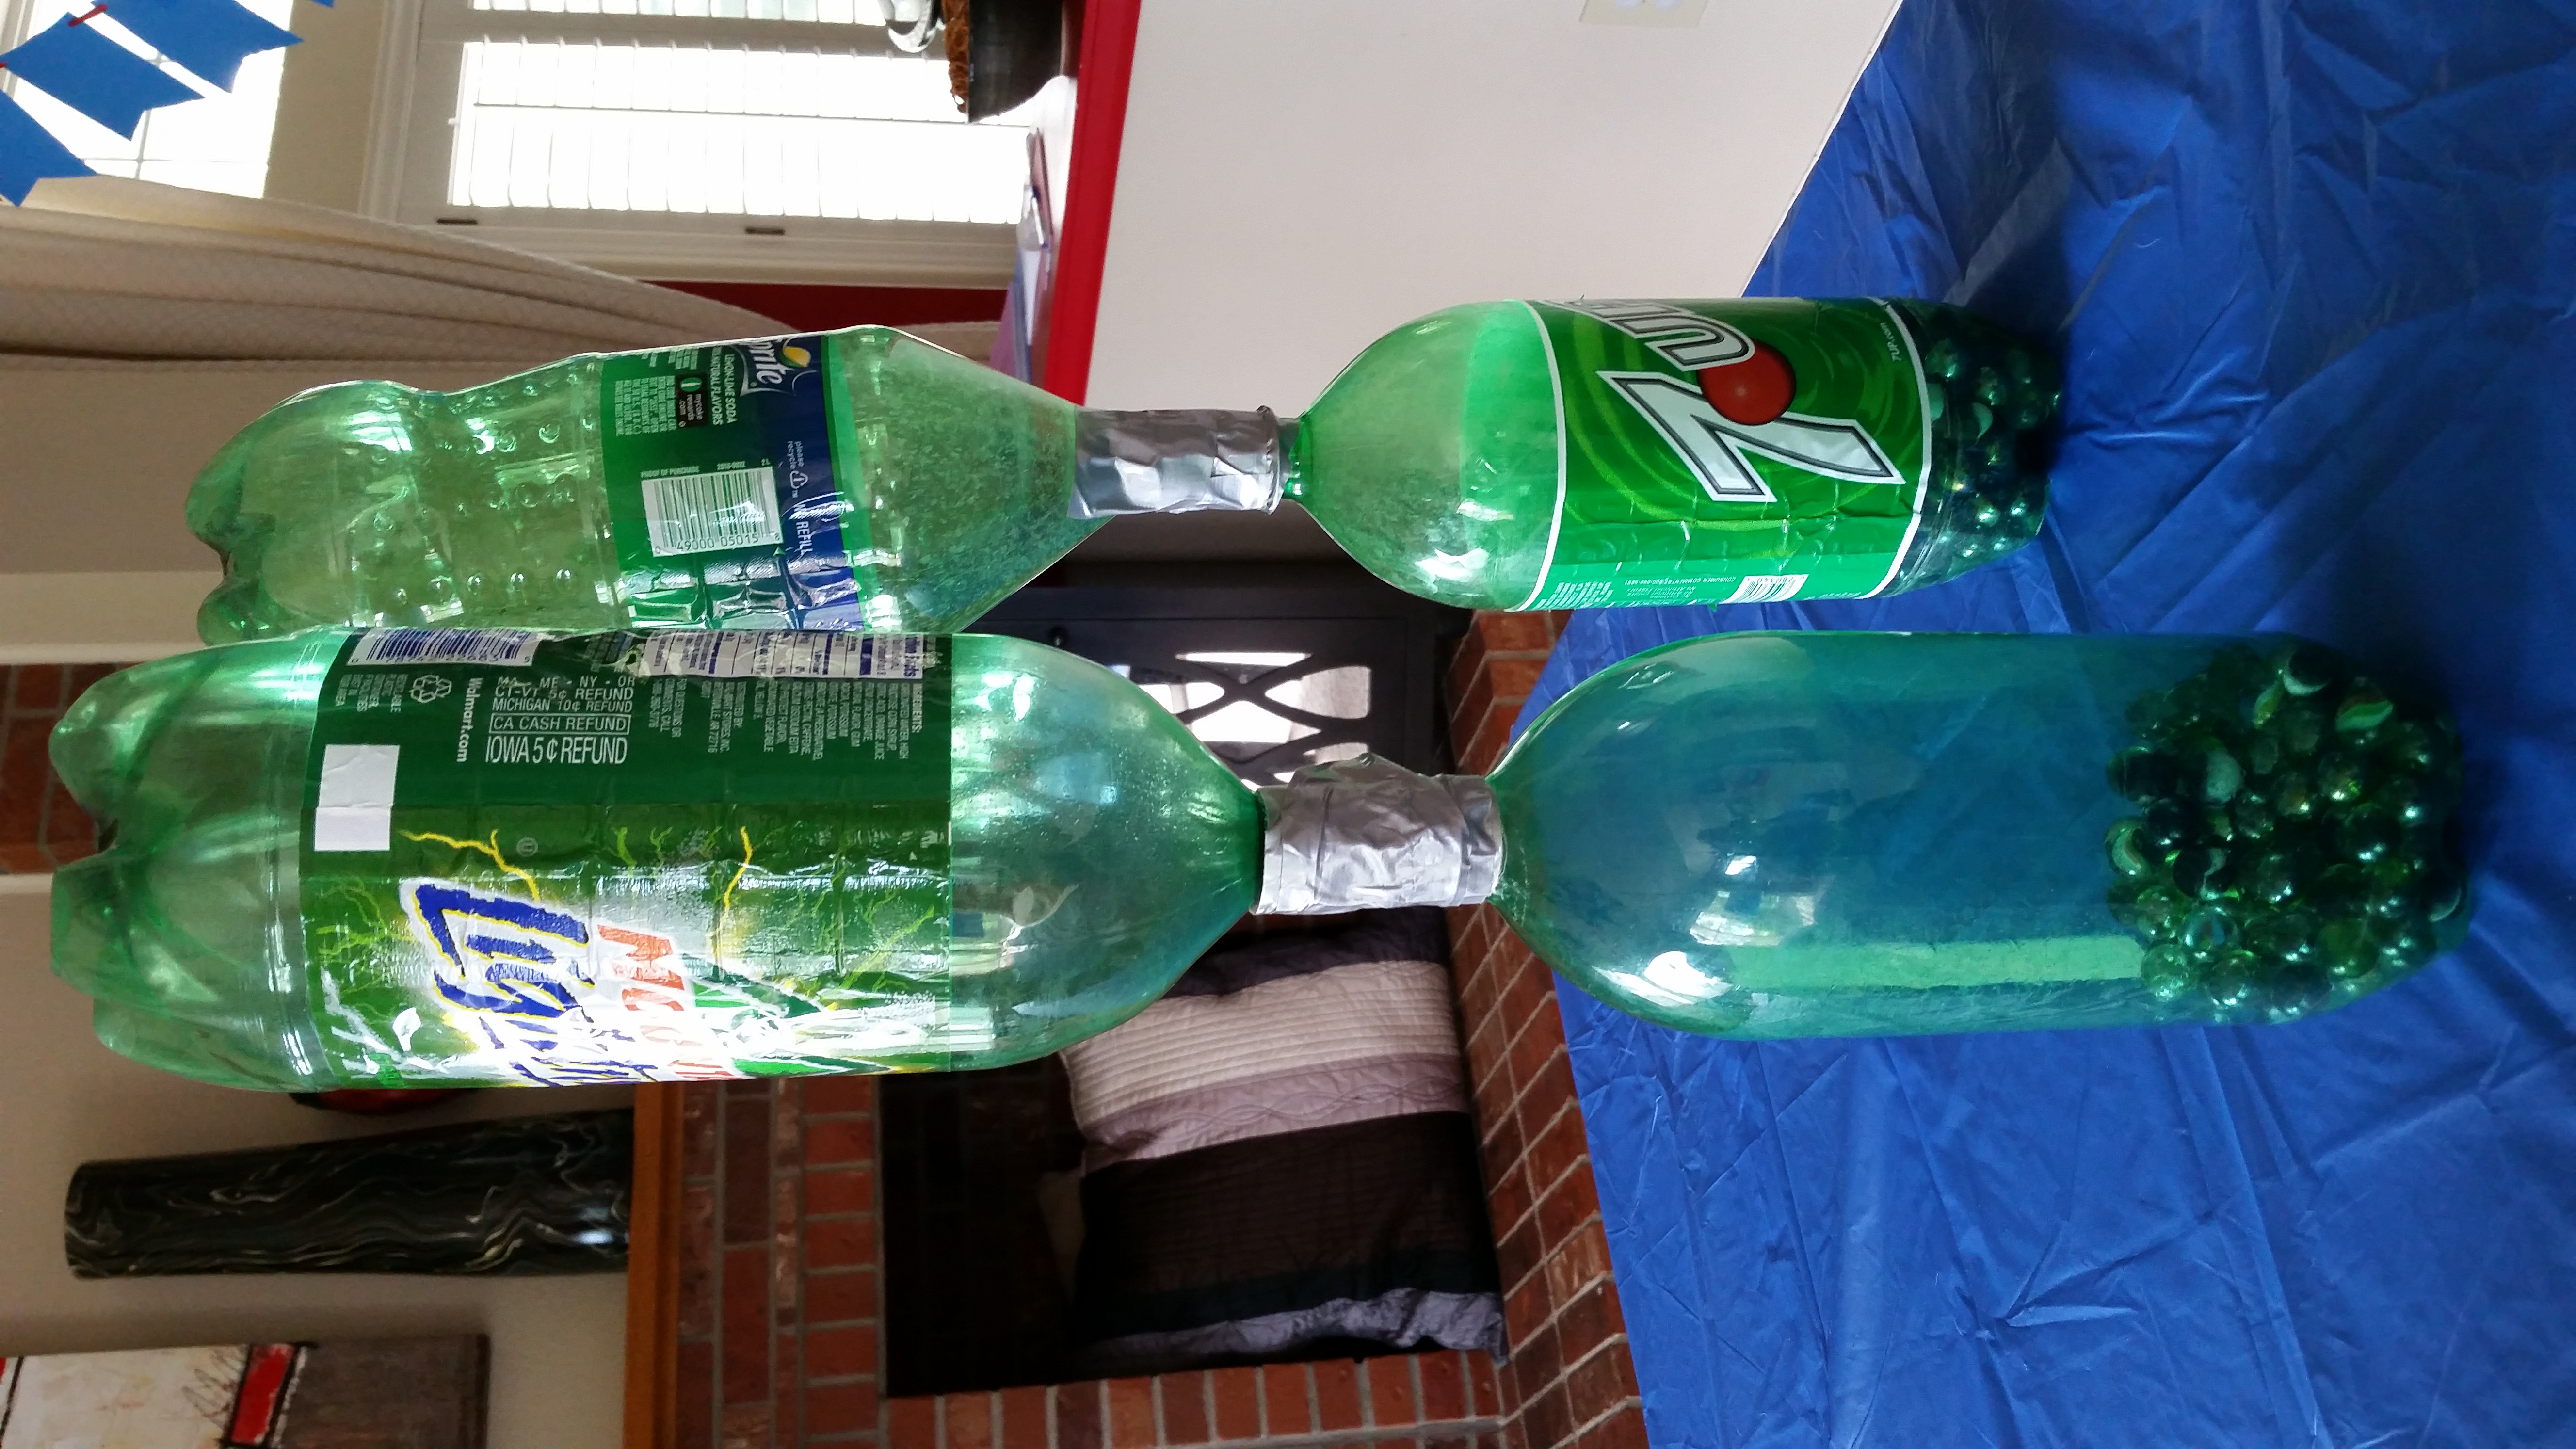
- Baby Rattle – Take empty 2 liter soda bottles and fill one with marbles (about 40),
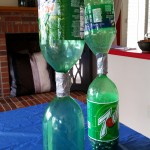 then you tape another empty bottle on top. The object is to shake all the marbles from one bottle to the other. It’s more fun to have a set of bottles for each person so they can shake in both hands, but I didn’t want to assemble that many! I just made 2 sets and that worked out. I found the 2 liter bottles on a FREE Facebook group we have in my local area and I also got some of the marbles from the same free site. I purchased some marbles, because I just didn’t have enough, but it was awesome to find some free stuff. This game was fairly easy and everyone was successful, was also VERY LOUD!
- A Bit Dicey – Object of the game was to stick a craft stick in your mouth and stack 5
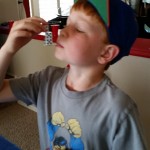 dice on top of each other on the end of the craft stick and hold for 3 seconds. I had the kids go head to head for this game because I only had 10 dice. This one was hard, but quite a few kids were successful! I actually picked up a box of 10 dice at garage sale for $0.25 and I already had the craft sticks. I tried to find the larger craft sticks to make this a bit easier, but never was able to find them, so I went with the small craft sticks I already had on hand.
- Cup Stack-O – Object of this game is to stack 11 cups of one color on top of the others until you have stacked them all one by one on top of the other until the 12th cup of a different color
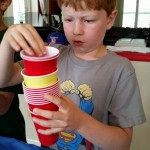 reaches the top again. Sounds a bit complicated, but was a good game of skill to put kids head to head. All kids passed this game, but a few were super close to 60 seconds! A good game to keep the scores up for everyone. I already had all these cups from other parties that I’d had in the past. We did this game head to head – but you could do more if you had more cups!
- Sticky Situation – This was hands down the favorite game of the day! With this
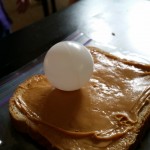 game you take a slice of bread slathered in peanut butter and place it on a small table. Then you take a bowl of ping pong balls (that I found at the Dollar Store) and place them in a bowl on another table about 5 feet apart. Object is to bounce a ping pong ball on the first table and get it to bounce from the first table to the second and stick to the peanut butter. This was really tricky, but a handful of kids were able to get it! Such a fun game! We did this as an individual game – they all had a great time collecting the ping pong balls that missed the peanut butter.
- Face The Cookie – This game made us all giggle! Object of the game was to take a
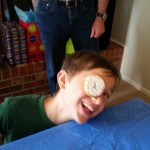 cookie and place it on your forehead and with your hands tied behind your back you have to wiggle and jiggle your face just enough to get the cookie to slide down your face into your mouth. Was hard, but fun to watch – it really took some serious concentration and body wiggle! I picked up the cookies for $1.29 at the grocery store. We did this game as big group.
- Tortilla Flip – This was a hilarious game! Object of this game was to put a tortilla on
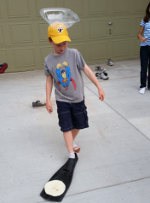 the end of diving flipper and to flip the tortilla into a pan on top of your head! I found the diving flippers at the Salvation Army for $3. Then we made the other part by taking an old baseball hat that my son had and we hot glued a plastic dish on top of it that would collect the tortilla. This game was a bit hard as well, but a bunch of the kids were successful. I already had the tortillas on hand, and we only really used about 4 for the whole group. The neighbors got a kick out of watching the kids do this game since we took them out front – they sure can flip those tortillas pretty high, so watch out! W
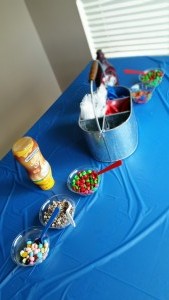 e did this an individual game because I only had one 1 hat to catch the tortillas in.
When the games were all done, we crowned a winner and handed out a prize to both the winner and the loser! Next, we opened gifts and then my son requested ice cream sundaes instead of cake for his birthday! Was super easy – and the kids got to load up on more sugar! I bought one big tub of vanilla ice cream and then used chocolate sauce and caramel sauce that I already had, along with a bunch of leftover Easter candy that I had saved. Worked out great and my son loved it! We also served the rest of the popcorn and pretzels we bought for my daughter’s party. Overall it was a wonderful, LONG day, but was super successful and we had so much fun!
Price Breakdown – Minute-To-Win-It Party:
- Candy prizes – $1.79
- Ping Pong Balls (Dollar Store) – $3
- Marbles (Dollar Store) – $2
- Cookies – $1.29
- Ice Cream – $5
- Caramel Sauce – $1.79
- Flippers – $3 (Salvation Army)
- Dice – $0.25 (garage sale)
- Total $18.12
Total Price for both parties and a ton of good fun = $63.89
Tips:
- Start planning early - I usually start planning my ideas 6 months in advance
- Pick a unique theme, instead of a branded theme – I like to pick unique themes like cooking, art, messy, firetrucks, tea, etc – this tends to make your decorations cheaper since you are not having to buy branded items
- I use simple, solid colors to decorate that I can pick up at the Dollar Store
- Make as much of your supplies and decorations as you can
- Use what you have around the house to keep costs down
- Reuse as much as you can
- Use coupons to to purchase supplies that you need
- Ask your friends for help
- Pay attention to sales flyers and buy supplies that you need when it goes on sale – even if it’s months in advance
- Find a local “FREE” site on Facebook in your area and ask for things that you need for your party – you never know what someone has around their house that they may want to give away – for FREE
- Share decorations - even with a friend
- Pinterest is your friend! You can follow my Pinterest Page here
- Follow my Facebook page, I’m always posting fun tips!
This post contains affiliate links. As an Amazon Associate I earn from qualifying purchases.
Share this post:


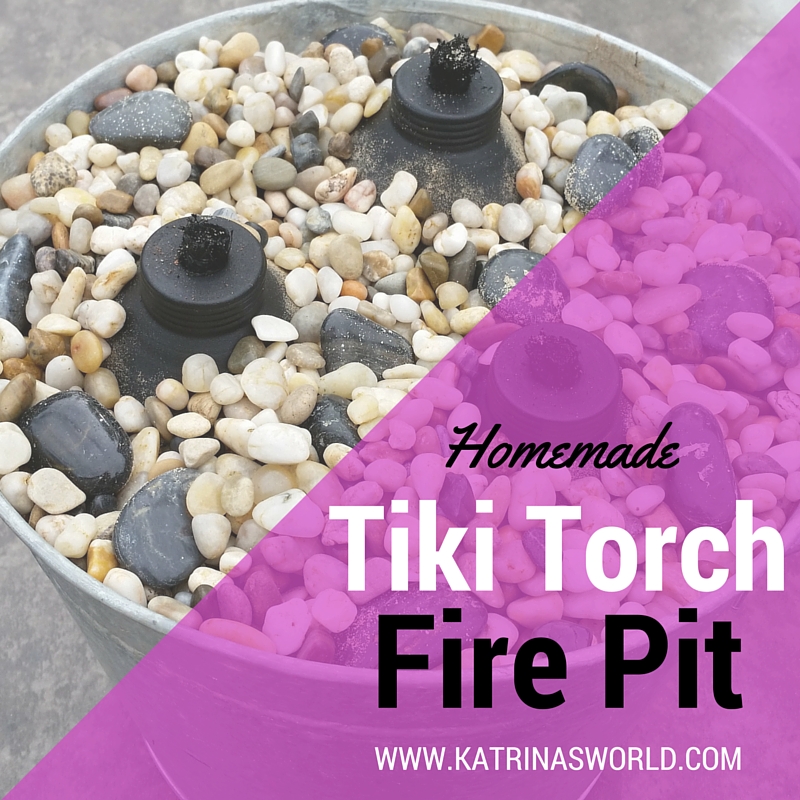 I had the pleasure of creating a really fun craft project this afternoon – a Table Top Tiki Torch Fire Pit! This was a really fun project! A couple months ago our family enjoyed a fun summer bbq at a friend’s house and we made smores (and let me tell you, I LOVE smores – I have no idea why, especially because I’m a not a huge fan of marshmallows, but they are soooo heavenly to me – they rate second only to brownies in my book, and for those of you who know me or have been reading my blog for a long time – you know I LOVE brownies more than anything) with a flower pot charcoal fire pit. My friend told me that she found the idea on…you guessed it…Pinterest. It was a blast – and I literally was kicking myself for not thinking of it sooner! So, when I got home that same night I stayed up way to late pinning homemade fire pits – you can see all the neat ideas I found on my Pinterest page – All these great ideas led me to create a similar version of my own! I really liked the idea of the tiki torch as the flame because it was quick and easy and didn’t need to heat up for a long time. Plus I really liked the modern look of the semi-buried torches with decorative rocks as the accent.
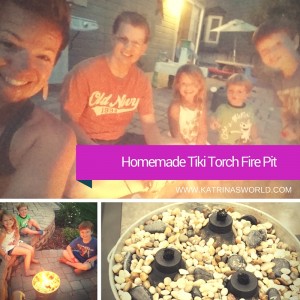

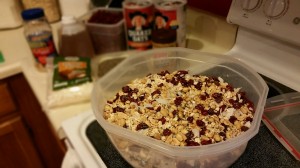
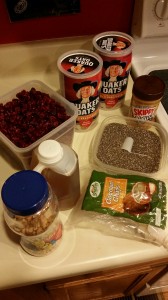 like to heat it up in the microwave for 30 seconds, it helps them mix up better. Then stir the wet ingredients in with the dry ingredients. I like to use my hands to mix it up well! Then pour into 2-4 bar pans and bake for 30 mins at 375 degrees. Make sure to stir your granola after it has cooked for 15mins. Once baked, let sit out until it completely cools. I then put my granola in a big cereal tupperware bin I have. This makes a decent amount of granola – but for my family of 5, it usually lasts about 2 weeks at the most! Makes for a great breakfast meal or for a snack!


 but in the mean time, it’s expensive to completely change the products you used to buy and start over with new ones. I don’t even want to think about how much money I have in my stockpile on items that I should really just toss out the door. It’s hard for my money-saving, frugal-living brain to comprehend just how much money I’m losing and knowing I need to buy other stuff.